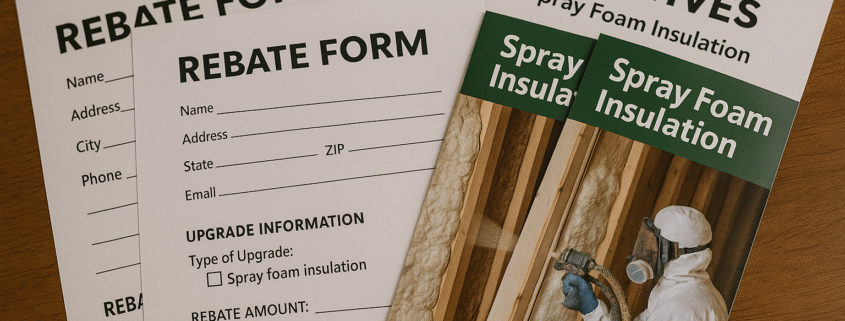
Unlocking Calgary Rebates For Spray Foam: Mistakes To Avoid & Smart Savings
Calgary rebates for spray foam can help homeowners lower energy costs while benefiting from local incentives and government programs—if approached correctly. Too often, people miss out on valuable cost savings by making avoidable mistakes during the rebate process. With White Knight Contracting, a trusted local expert since 2011, you can maximize your insulation project’s value and avoid common pitfalls.
Table of Contents
- The History Of Calgary Insulation Rebates
- Recent Trends In Spray Foam Rebates
- Common Mistakes In Claiming Rebates
- Step-By-Step Guide: How To Claim Calgary Rebates For Spray Foam
- What’s Next For Calgary’s Spray Foam Rebates?
- Spray Foam vs. Other Insulation: Which Gets Bigger Rebates?
- Interesting FAQ
- Conclusion & Next Steps
The History Of Calgary Insulation Rebates
Rebates for insulation upgrades in Calgary have been around for over a decade. Initially, government programs encouraged energy efficiency through small tax credits or one-time rebates for upgrades like attic insulation. As energy prices rose and climate concerns grew, rebate amounts increased and expanded to cover newer technologies such as spray foam insulation.
In the early 2010s, the City of Calgary responded to rising heating bills and climate targets by launching more robust local incentives for retrofit projects. These have included:
- Federal ecoENERGY and Greener Homes programs
- Municipal grants and homeowner incentives
- Provincial rebates for major upgrades including spray foam
This historical support is the backbone for today’s homeowners to access cost-saving rebates while improving home comfort.
Recent Trends In Spray Foam Rebates
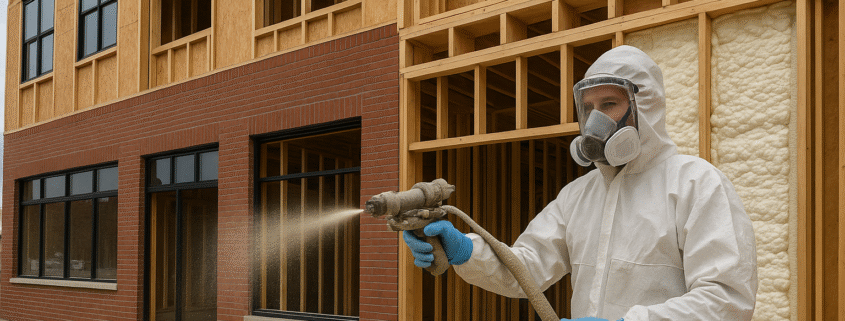
In recent years, Calgary insulation rebates have shifted focus toward high-efficiency upgrades like spray foam. Homeowners are choosing spray foam more often because it offers better air sealing and moisture resistance than traditional batts. The government programs now reward projects that slash energy use the most—which puts spray foam in a great position for larger rebate payouts.
- Homes completing a deep energy retrofit (multiple upgrades at once) can stack rebates for bigger returns.
- Spray foam in attics, walls, and basements are often eligible for the maximum local incentives.
- Some rebates even cover assessment costs when you document before-and-after energy usage.
Keeping up with changing rebate rules ensures you don’t miss out on extra cost savings available right now.
Common Mistakes In Claiming Rebates
Even though Calgary rebates for spray foam are appealing, many homeowners make mistakes that cost them money. These frequent errors can lead to lost incentives and frustrating delays:
- Not getting a pre-retrofit energy audit (which most rebates require)
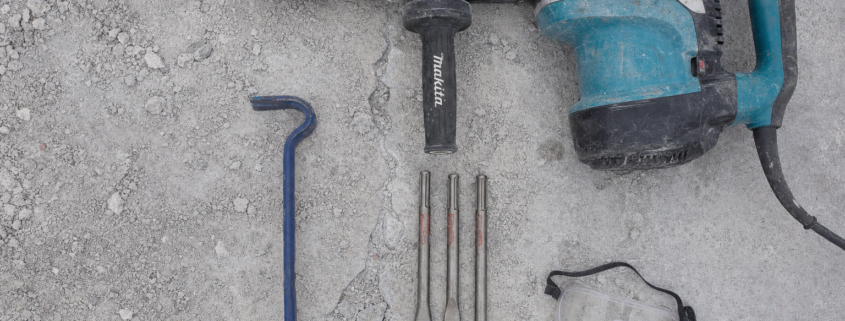
- Choosing unlicensed or inexperienced contractors who aren’t familiar with rebate paperwork
- Missing deadlines by waiting too long to submit your completed application
- Assuming “all insulation” qualifies when only certain spray foams or R-values do
- Not keeping receipts, photos, or job documentation
Avoiding these mistakes is simple if you work with an experienced team that can guide you through every step and ensure all documentation is properly handled.
Step-By-Step Guide: How To Claim Calgary Rebates For Spray Foam
- Step 1: Schedule a pre-retrofit EnerGuide or Home Energy Assessment by a certified professional
- Step 2: Review which areas of your home qualify for cost-boosting upgrades—focus on spray foam for high-impact savings
- Step 3: Get competitive quotes from licensed, reputable contractors who understand local incentives
- Step 4: Complete the work—keep thorough documentation and before/after energy info
- Step 5: Submit your post-retrofit assessment and rebate application on time
- Step 6: Await confirmation and enjoy your rebate while tallying up annual energy savings
Some programs allow you to combine Calgary insulation rebates with other government incentives, multiplying your return.
What’s Next For Calgary’s Spray Foam Rebates?
The future of government programs supporting energy upgrades looks bright. Experts predict that, as energy standards tighten, rebates for high-efficiency products like spray foam will become even more generous. New provincial and federal policies could introduce further local incentives by prioritizing deep retrofits and high-R-value technologies.
There’s also a growing push for smart home integration, renewable-ready insulation, and bundled contractor solutions—making it likely that Calgary rebates for spray foam will continue to expand in scope and value.
Spray Foam vs. Other Insulation: Which Gets Bigger Rebates?
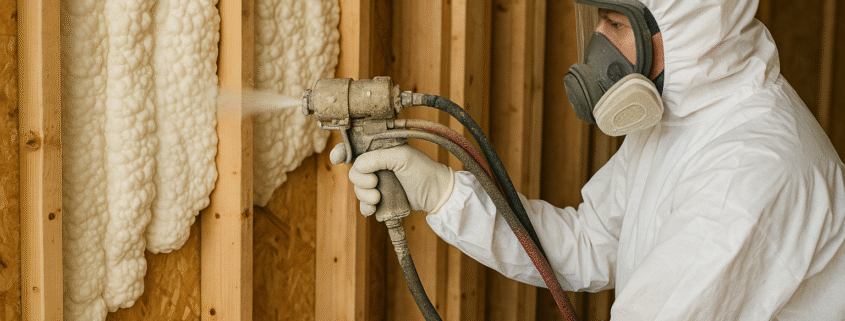
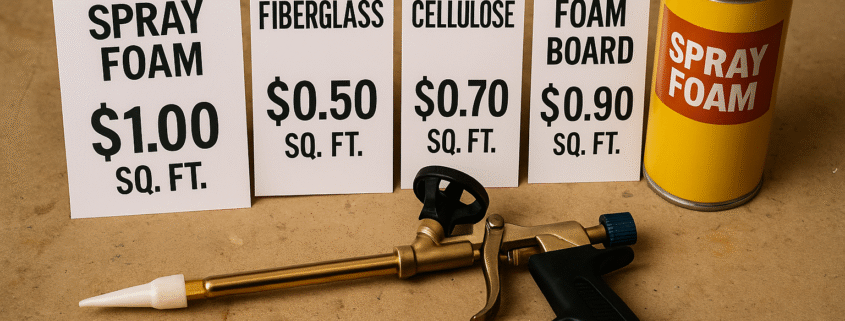
When it comes to securing the largest cost savings, spray foam insulation commonly receives bigger rebate amounts compared to traditional batt or loose-fill insulation. Spray foam’s ability to air-seal and provide remarkable thermal performance leads most government programs to prioritize it.
- Higher R-value per inch = bigger energy reductions = bigger rebates
- Closed-cell spray foam improves moisture protection and structural integrity—two rebate boosters
- Some rebates pay more if you upgrade multiple zones (attic, basement, crawlspace) at once
Generally, the more effective your insulation in slashing energy waste, the easier it is to access the top tier of Calgary insulation rebates.
Interesting FAQ
Accufoam highlights closed-cell foam options with enhanced moisture resistance and thermal performance. Learn more here.
- Q: Do I have to use a certified installer for rebate eligibility?
Yes, most Calgary insulation rebate programs require licensed contractors who follow strict application processes. - Q: How long does it take to get government rebate approval?
Timelines range from a few weeks to a few months, depending on program demand and application accuracy. - Q: Can I stack local incentives with national rebates?
Often, yes. Always check program rules but many homeowners find they can combine rebates for maximum cost savings. - Q: Is there a deadline for applying after installation?
Definitely. Submitting your documents within the required window is crucial or you risk losing your rebate. - Q: What other services does White Knight Contracting offer?
In addition to spray foam, they can handle siding, repairs, and a full range of home upgrades—no need to hire a second contractor!
Conclusion & Next Steps
Claiming Calgary rebates for spray foam doesn’t have to be complicated. When you avoid common application mistakes and work with experienced professionals, you can tap into some of the most valuable insulation rebates, local incentives, and government programs for real cost savings. To learn more and view our other blogs, click here.