DIY concrete removal Calgary projects can look simple at first, but pool demolition adds weight, drainage, hauling, soil compaction, and safety issues that can surprise many homeowners. If you are planning pool removal Calgary work, White Knight Contracting can help with concrete removal, debris hauling, and related exterior work so you are not left trying to line up several trades for one messy job. In many cases, removing an old pool is not just about breaking concrete; it is about making the yard safe, level, usable, and ready for the next stage. That could mean a lawn, patio, garden, garage pad, or future landscaping. Because Calgary weather can shift fast, planning the job properly matters. The more you know going in, the easier it is to avoid delays, surprise fees, and poor backfill that settles later.
Table of Contents
- History of Pool Demolition and Concrete Removal
- DIY concrete removal Calgary: What Is Really Involved?
- Pool Demolition Cost in Calgary
- Current Trends in Pool Removal Calgary
- Common Challenges With Concrete Pool Demolition
- Company Highlight
- Future Prospects and What to Expect
- FAQ
- Q&A
History of Pool Demolition and Concrete Removal
Backyard pools were once seen as a major luxury feature, especially in larger suburban homes. Over time, many homeowners found that older pools became expensive to heat, repair, insure, and maintain. In Calgary, freeze-thaw weather also plays a big role because concrete expands and contracts as temperatures change. This can lead to cracking, shifting, and water leaks over the years. As a result, concrete pool demolition has become more common for people who want lower maintenance and more usable yard space. What used to be a rare project is now a practical choice for families who would rather have a patio, play area, garden, or parking space.
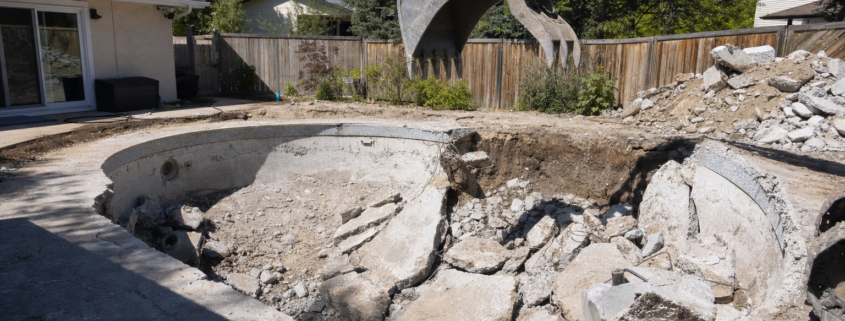
The history of concrete removal has also changed because machines and disposal rules are better understood now. Years ago, some pool owners simply punched holes in the bottom, buried broken concrete, and covered everything with soil. Today, many homeowners want a cleaner full removal because it can protect future landscaping and reduce settlement problems. A full removal means the concrete shell, rebar, plumbing, and debris are taken out instead of hidden underground. This method often costs more, but it gives the yard a stronger fresh start. It also helps if the property may be sold later, since buyers often ask what was done below the surface.
DIY concrete removal Calgary: What Is Really Involved?
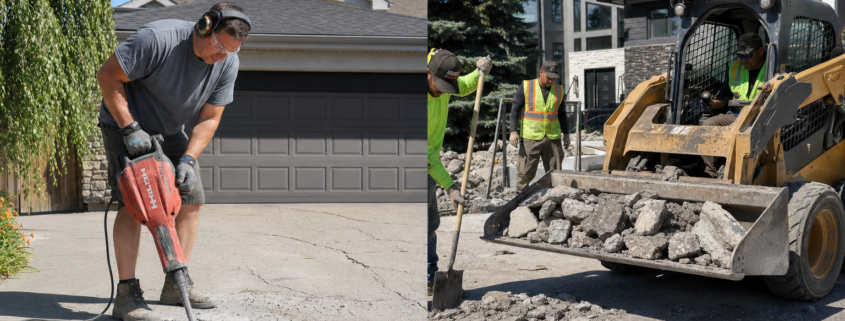
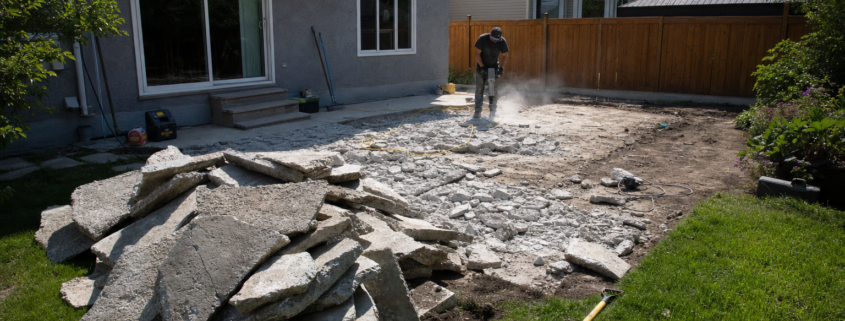
DIY concrete removal Calgary work usually starts with a simple question: “Can I rent a jackhammer and do this myself?” For a small sidewalk slab, maybe. For a pool, the answer is usually more complicated. A concrete pool is thick, heavy, reinforced with steel rebar, and often surrounded by plumbing, decking, drains, and electrical lines. Concrete weighs about 150 pounds per cubic foot, which means even a small broken section can be hard to lift, move, and haul. Once the pool shell is broken apart, the debris must be loaded safely and taken to the right disposal site. That is where many DIY projects slow down.
The usual steps include draining the pool, checking for utilities, breaking the concrete, cutting rebar, removing debris, hauling material, backfilling, and compacting the soil. Backfilling means putting clean soil or gravel into the empty space. Compaction means pressing that material down in layers so it does not sink later. If this step is rushed, the yard can settle after rain or snowmelt. Think of it like packing a suitcase: if you just throw things in loosely, there will be empty spaces. A pool hole works the same way, except those empty spaces can become dips, cracks, or drainage problems.
Pool Demolition Cost in Calgary
Pool demolition cost depends on size, access, depth, concrete thickness, disposal fees, and whether you choose partial or full removal. A partial removal usually breaks the upper part of the pool, creates drainage holes, and fills the remaining shell. It may be cheaper, but it can limit future building options. A full removal takes out the pool shell and more debris, which is usually better if you want long-term flexibility. In Calgary, many homeowners should plan for a broad range, often from several thousand dollars to well over $15,000 for larger or harder-to-access pools. Very complex concrete pool demolition jobs can cost more when equipment access is tight or hauling distance is high.
Several items affect the final number. These include:
- Pool size, depth, and concrete thickness
- Whether the pool is indoors, outdoors, above ground, or in ground
- Access for machines, bins, and trucks
- Amount of rebar, tile, coping, and surrounding concrete
- Backfill material and compaction needs
- Landfill, hauling, and labour costs
For a real-world example, imagine two homes with the same pool size. One has a wide gate and room for a mini excavator. The other has a narrow side yard, mature trees, and no easy bin location. The second job can cost more because workers may need smaller machines, more hand labour, and extra time moving debris. That is why a site visit is often the best way to price the work.
Current Trends in Pool Removal Calgary
One major trend in pool removal Calgary projects is turning old pool space into low-maintenance outdoor living areas. Many families are choosing patios, fire pit zones, artificial turf, garden beds, or open lawn instead of repairing an unused pool. This fits with a wider shift toward yards that are easier to care for and less costly to run. Pools can use a lot of water, energy, chemicals, and seasonal labour. By removing one, homeowners may lower ongoing maintenance and make the yard useful for more months of the year.
Another trend is cleaner disposal and better sorting of materials. Concrete, metal rebar, soil, and mixed debris may need different handling. Many contractors now plan disposal before demolition begins, which helps control cost and keeps the work site safer. Homeowners are also asking more questions about drainage after removal. This is smart because Calgary’s spring melt and summer storms can reveal low spots quickly. A well-planned removal should leave the yard graded so water moves away from the home, not toward the foundation.
Common Challenges With Concrete Pool Demolition
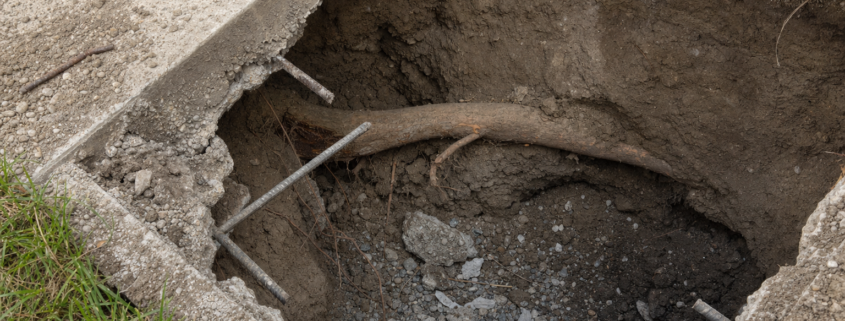
Concrete pool demolition can be noisy, dusty, and physically demanding. The first challenge is safety. Jackhammers, saws, excavators, and broken concrete edges can cause injuries if handled poorly. The second challenge is hidden utilities. Old pools may have electrical lines, gas lines for heaters, water lines, pumps, and drains nearby. Before digging or breaking concrete, these need to be located and handled properly. The third challenge is debris volume. A pool creates far more waste than many homeowners expect, and one bin may not be enough.
Weather is another big factor in Calgary. Frozen ground, heavy rain, or sudden snow can slow down removal and backfill. Wet soil can be harder to compact, while frozen soil can create settlement issues later. Access can also be tricky in older neighbourhoods where side yards are narrow. In those cases, smaller machines may be needed, and the work can take longer. This is why the cheapest quote is not always the best choice. A careful plan can save money by preventing repairs later.
Company Highlight
White Knight Contracting has been in business since 2011 and brings a practical, local approach to concrete removal and exterior property work. One key strength is that the team can handle many related tasks, like siding, without needing a second contractor for every part of the project. That matters when demolition affects nearby surfaces, access paths, exterior walls, or yard features. Their background in roofing, siding, eavestroughs, soffit work, hail damage repair, and concrete removal gives homeowners one point of contact for more than just breaking concrete. The company is also known for workmanship, customer service, and handling Calgary weather-related property issues. For homeowners, that can mean less stress, clearer planning, and fewer gaps between trades.
Future Prospects and What to Expect
The future of pool removal will likely focus on better equipment, smarter hauling, and more thoughtful yard reuse. Smaller machines are getting stronger, which helps on tight residential lots. More homeowners are also thinking about long-term value instead of short-term savings. For example, full removal may cost more today, but it can make the yard easier to landscape or build on later. In real estate, clear records of removal can also help answer buyer questions. If you are planning this type of project, take photos, keep receipts, and ask what material was used for backfill.
Before starting, homeowners should expect a few practical steps. First, get a site assessment. Second, compare partial and full removal. Third, ask how debris will be hauled and where it will go. Fourth, confirm how compaction will be done. Finally, plan what the space will become after the pool is gone. A good analogy is renovating a kitchen: demolition is only the first step. The finished result depends on what happens after the mess is removed.
FAQ
When budgeting for pool demolition and concrete removal, homeowners should remember that large concrete loads in Calgary must be taken to a City landfill, where disposal charges apply, which is why hauling and landfill fees can affect the final project cost.
Q&A
Question
What does pool demolition and concrete removal in Calgary actually involve?
Answer
Pool demolition in Calgary involves draining, breaking the shell, removing concrete debris, backfilling, and compacting. For many full removal projects, the process typically takes 3–5 days, depending on weather, access, pool size, and disposal needs.
Question
How long does pool demolition and concrete removal take in Calgary?
Answer
Pool demolition in Calgary typically takes 3–5 days for a full removal including backfill and compaction, weather and access permitting. Larger pools, tight access, extra concrete, or poor weather can add time.
To learn more and view our other blogs, click here,
Conclusion
Pool demolition and concrete removal can open up a yard, lower maintenance, and make outdoor space more useful. While DIY concrete removal Calgary projects may work for small slabs, pools are usually a different level of work because of weight, rebar, hauling, backfill, and compaction. The best approach is to understand the full process, compare removal methods, and plan for disposal and site finishing from the start. With the right crew and a clear plan, an old pool can become a safe, level space ready for something new.
The photo used in this blog are for demonstration purposes only.