Introduction
The technique that should be mentioned right away when homeowners look for superior waterproof foam is spray foam insulation, which is making a name for itself due to its outstanding waterproof properties. For Calgary homeowners seeking long-term water resistant insulation and effective flood damage resistant options, this solution provides superior moisture barriers. White Knight Contracting has been a trusted expert for over ten years, helping clients protect their homes from moisture and the elements—all without needing to bring in extra subcontractors for the job.
Table of Contents
- The Evolution of Waterproof Foam Insulation
- Key Benefits of Water Resistant Insulation
- Modern Challenges and Water Intrusion Risks
- Step-by-Step Guide: Waterproofing Technique for Spray Foam
- Comparisons With Other Moisture Barriers
- Future Prospects for Flood Damage Resistant Homes
- Interesting FAQ
- Common Questions About Spray Foam’s Waterproof Properties
- Conclusion
The Evolution of Waterproof Foam Insulation
Spray foam insulation didn’t always hold its reputation for waterproofing. Early forms were designed primarily for energy savings, offering thermal insulation. Over the last two decades, however, manufacturers started developing closed-cell spray foam—changing the game by delivering substantial water resistant insulation properties.
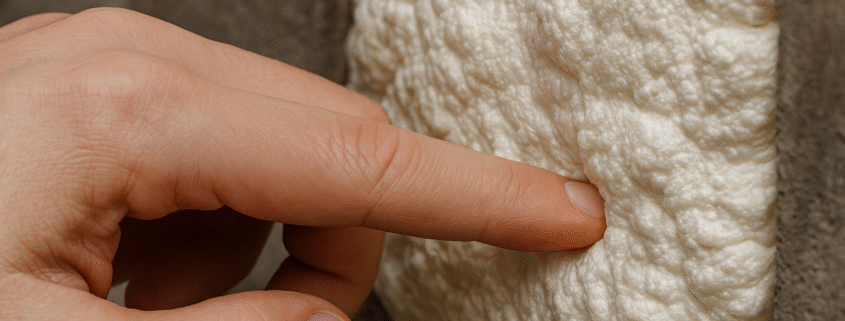
Closed-cell foam, in particular, is a dense substance that acts as both an insulator and a barrier against water infiltration. By creating a non-porous surface once cured, this advanced waterproof foam not only keeps out moisture but can also significantly reduce the risk of mold growth, and structural rot inside wall assemblies. That’s why it’s now a material of choice for forward-thinking homeowners and businesses alike.
Key Benefits of Water Resistant Insulation
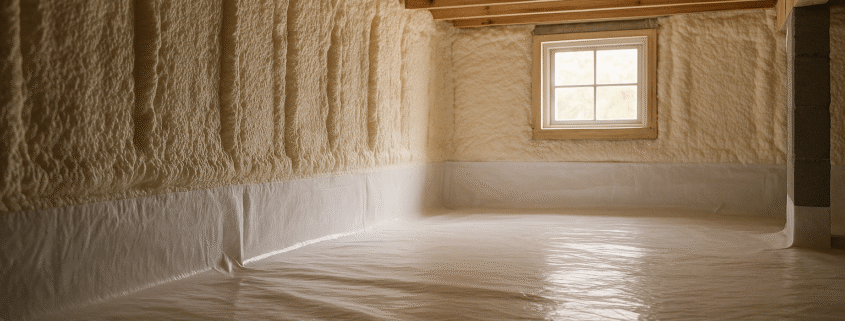
- Effective Moisture Barriers: Closed-cell spray foam stands out for stopping water from seeping through walls and floors, ideal in flood-prone basements or garages.
- Added Structural Strength: This waterproof foam reinforces the structural integrity of your home by bonding to wood and masonry.
- Long-Term Cost Savings: By keeping water out with robust water resistant insulation, homeowners can save thousands on future water damage repairs and energy bills.
- Mold & Mildew Prevention: Spray foam’s airtight seal keeps unwanted dampness at bay, creating a healthier indoor environment.
Unlike traditional fiber insulations, spray foam is a dual-action protector—giving you both energy efficiency and a substantial flood damage resistant layer.
Modern Challenges and Water Intrusion Risks
With extreme weather events and heavier rainfall, water intrusion is an increasing hazard for Calgary homes. Standard construction often uses fiberglass or mineral wool, which absorb water and eventually let moisture pass through. Once insulation like that gets wet, it no longer works and may even promote persistent mold growth and rot.
Closed-cell spray foam insulation provides a proactive solution. It works as a continuous waterproof foam layer, blocking even airborne moisture and stopping leaks in their tracks. Floods or broken pipes won’t result in soggy insulation and expensive replacement. The challenge? Ensuring the right installation by trained professionals for maximum results.
Step-by-Step Guide: Waterproofing Technique for Spray Foam
Here’s what to expect when White Knight Contracting installs water resistant insulation using spray foam:
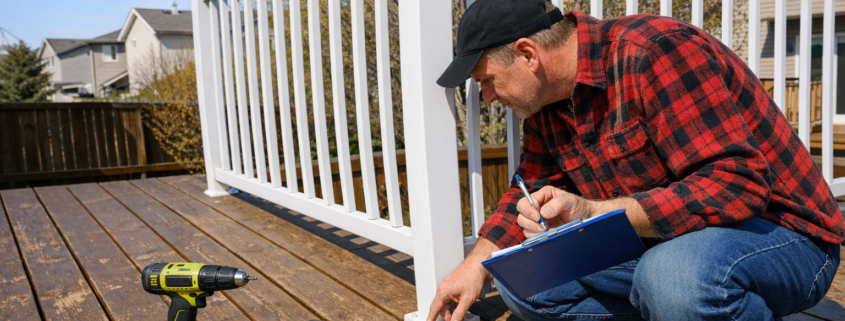
- Assessment: Experts check for existing water leaks, structural gaps, and vulnerable areas.
- Preparation: All surfaces are dried and cleaned. Sensitive areas are masked off.
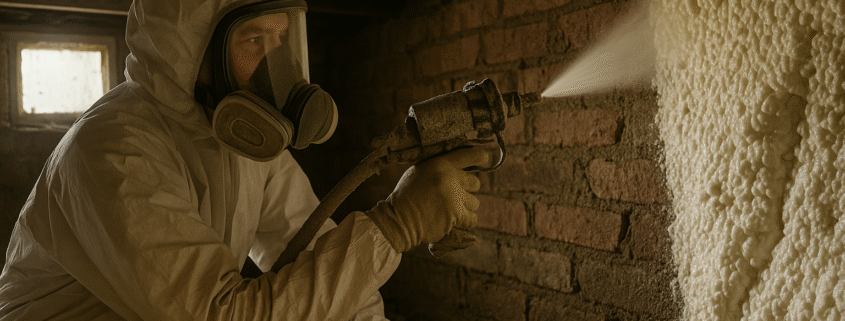
- Application: Closed-cell spray foam is applied in layers, expanding on contact to form a tight, seamless moisture barrier.
- Curing: The foam hardens in minutes and fully cures, providing immediate waterproof protection.
- Inspection: The installation is checked for completeness, coverage, and thickness to ensure flood damage resistant performance.
This technique ensures that spray foam’s waterproof properties lock moisture out, offering peace of mind and lasting value.
Comparisons With Other Moisture Barriers
How does spray foam stack up against other water resistant insulation products?
- Fiberglass: Holds water and loses thermal value when wet. Must be replaced after a leak.
- Cellulose: Made from recycled paper—absorbs water easily and supports mold.
- Rigid Board Foam: Can resist water, but leaves gaps at seams and isn’t easily adapted to irregular surfaces.
- Spray Foam (Closed-Cell): Adheres tightly to all surfaces, forming a seamless barrier that resists both water and air infiltration.
This comparison shows why waterproof foam, especially spray foam, is a clear favorite for those wanting a robust and long-lasting moisture barrier for their property.
Future Prospects for Flood Damage Resistant Homes
Industry trends show homeowners are prioritizing waterproofing in their renovation budgets more than ever before. As climate patterns shift and water intrusion risks become more severe, expect advances in spray foam formulas to further improve waterproof characteristics, energy savings, and eco-friendliness. Homeowners who invest in closed-cell spray foam are ahead of the curve—protecting both property value and well-being.
With companies like White Knight Contracting leading the way, flood damage resistant homes are becoming a new standard in the Calgary region. Their broad expertise also lets them handle siding or exterior elements as part of a single project, eliminating the hassle of dealing with multiple contractors.
Interesting FAQ
EPA outlines environmental benefits and health precautions related to spray foam materials in their detailed guide here.
Common Questions About Spray Foam’s Waterproof Properties
- Is all spray foam waterproof?
Not all types are fully waterproof. For optimal protection, ask for closed-cell spray foam, which offers the best water resistance. - Can spray foam insulation help prevent flood damage?
Yes, closed-cell spray foam can reduce the extent of water entry during floods, helping to keep structural components safe and dry. - Does spray foam create a vapor barrier too?
Closed-cell foam forms a vapor barrier as well as a moisture barrier, making it highly effective for basements and crawlspaces. - What maintenance does waterproof foam require?
Properly installed spray foam requires little or no maintenance. Regular home checks for leaks are always wise. - Is spray foam safe for indoor air quality?
Once fully cured, spray foam is safe and inert. It does not off-gas or emit harmful substances.
Conclusion
As waterproof foam and advanced water resistant insulation options become vital for modern homes, spray foam insulation clearly leads the way. Its incredible waterproof properties, ability to function as moisture barriers, and flood damage resistant nature make it a smart investment. To learn more and view our other blogs, click here.